
Build Your Video Wall Controller System
Choose a chassis, add the capture and graphics cards your wall needs, and get an instant parts list — free, no obligation.
1Choose Your Controller Chassis
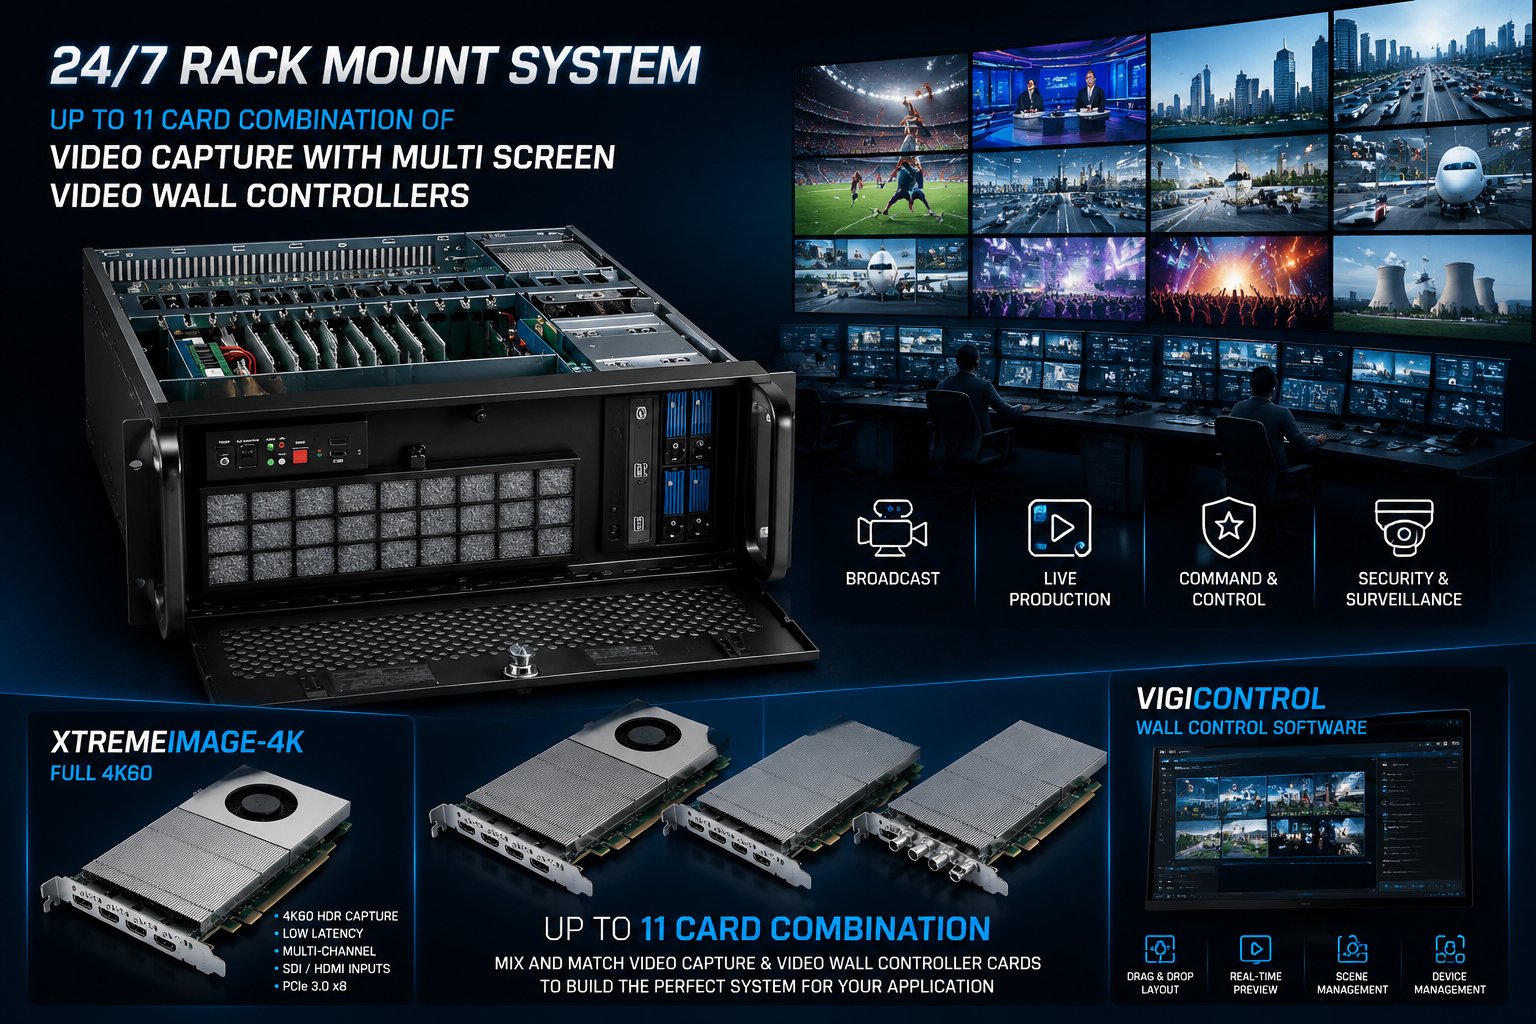
Pick the VSNV3 chassis that matches your wall size. Not sure? A 5-slot chassis suits most small-to-medium walls; step up to 11-slot or VSN1192 for larger, higher-channel-count deployments. Our chassis buyer's guide covers this in more detail.
2Add Expansion Chassis (optional)
Need more slots than your chassis has? Add one or more 11-slot expansion chassis. Each one needs its own HLink-G3/SLink-G3/Ex-Cable-G3 link kit (added automatically), and each link kit uses one slot on the main chassis and one slot on the expansion chassis itself — so an 11-slot main plus one expansion gives 20 usable slots, not 22.
3Add Upgrade Options
Optional chassis upgrades — RAM, storage and recovery media. Only the options that fit your chosen chassis are shown.
4Add Capture Cards
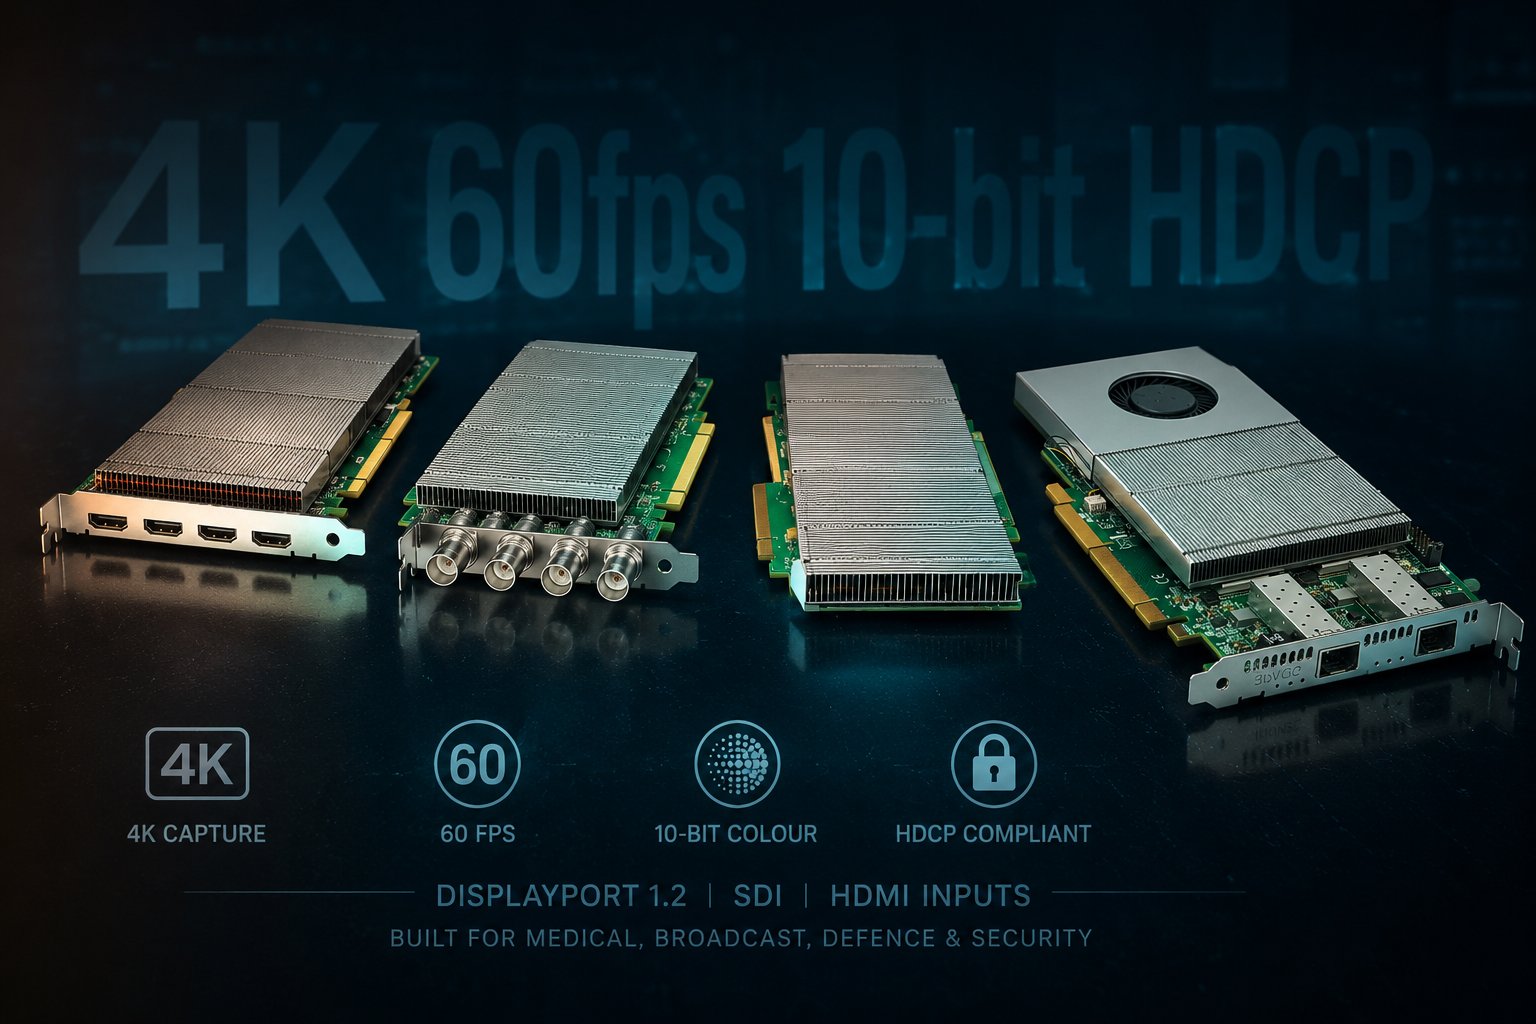
Add each capture card your project needs. Every card uses one chassis slot. Unsure which range fits your source signal? See our capture card buyer's guide.
5Add IP Encode & Decode
If any sources need to arrive over the network — CCTV, streamed feeds, remote desktops — add an ActiveSQX card here. Skip this step entirely if every source is a directly-wired local capture card.
Each ActiveSQX/ActiveSQX2 card processes its own network traffic independently, so cards scale linearly — but every card still needs real, dedicated network bandwidth from the site's switch. Before specifying several IP cards in one system, confirm the site network can genuinely carry that many simultaneous streams; get in touch if you're not sure and we'll help size it against your actual network.
6Add Graphics / Output Cards
Add the graphics cards driving your display outputs. Every card uses one chassis slot.
7Optional Extras
Add wall management software if your project needs it.